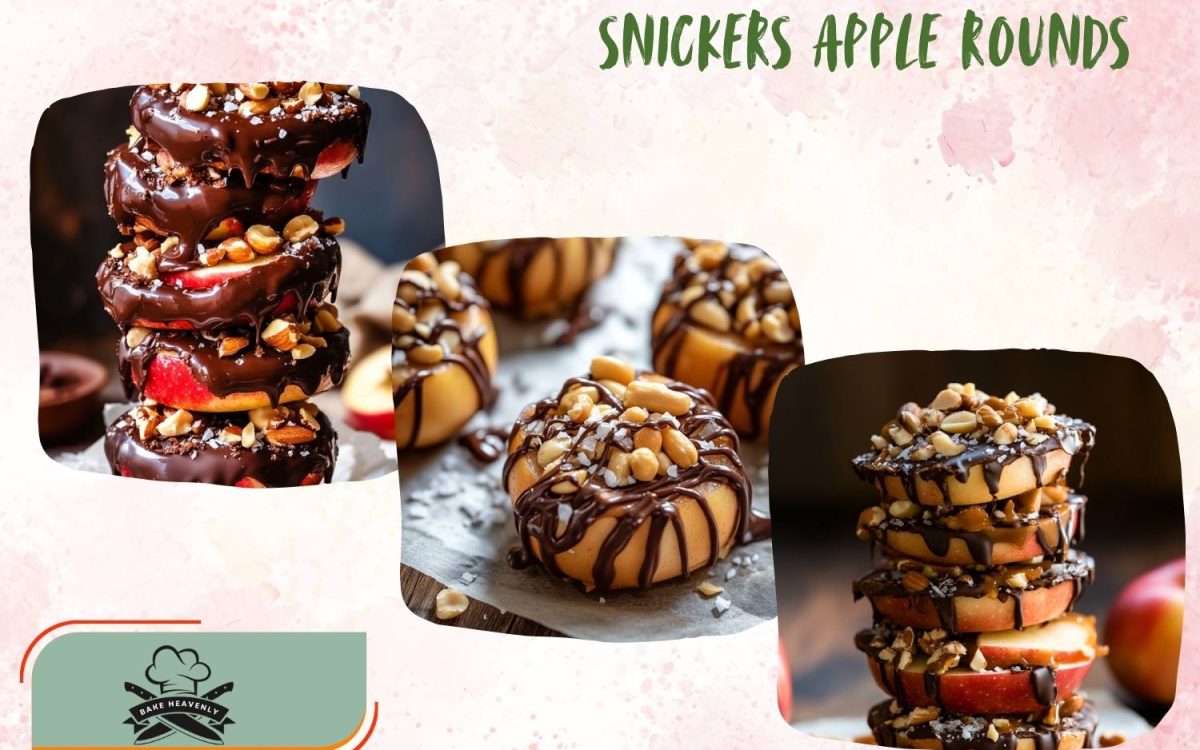
Who else LOVES a sweet treat that’s fun to make, super tasty, and a little bit healthy too? That’s exactly what these Snickers Apple Rounds are all about! They’re kind of like mini caramel apples, but WAY easier and way more peanut buttery (YUM). You only need a few ingredients, and you probably already have them at home!
Method
Get your apples ready
Start by washing your apples thoroughly and patting them dry. Using an apple corer, remove the core from each apple. If you don’t have a corer, you can carefully scoop out the center with a spoon or knife just watch those fingers! Once cored, slice the apples into round discs about 1 centimeter thick. Try to keep the thickness consistent so that each slice holds the toppings evenly without snapping. These rounds are your “base,” and the thicker slices give a sturdier bite.
Spread the peanut butter
Now comes the creamy goodness! Take a spoon or small spatula and generously spread peanut butter over the top side of each apple round. You want a good, thick layer so every bite is rich and satisfying. It’s okay if it gets a little messy that’s part of the fun. Make sure the peanut butter reaches near the edges of each slice for full flavor coverage.
Sprinkle on the crunch:
Next, grab your crushed peanuts and sprinkle them over the peanut butter layer. Press them down lightly so they stick into the peanut butter. These little pieces of peanut add a delicious crunch and really bring that Snickers flavor to life. If you like extra crunch, don’t be shy with the peanuts!
Freeze to firm
Once all your apple slices are topped with peanut butter and peanuts, place them on a parchment-lined tray or plate. Slide the tray into the freezer for about 10 minutes. This quick chill helps the peanut butter set slightly, so it stays in place when you drizzle the chocolate later on. Don’t skip this step it makes the final step much neater!
Melt the chocolate
While your apple rounds are chilling, it’s time to melt the chocolate. In a small microwave-safe bowl, combine the dark chocolate chips (or chopped dark chocolate) and the coconut oil. The coconut oil helps the chocolate melt smoothly and adds a subtle shine. Microwave the mixture in 30-second bursts, stirring well in between each time. Be careful not to overheat chocolate can burn quickly. Keep microwaving and stirring until the mixture is fully melted and glossy.
Drizzle and chill again
Take the apple slices out of the freezer and, using a spoon or fork, drizzle the melted chocolate over the tops of each one. You can make fun zig-zag lines or little puddles totally up to you. Once they’re all nicely decorated, return the tray to the freezer for another 20 minutes. This step lets the chocolate harden into a smooth, delicious shell that contrasts beautifully with the creamy peanut butter underneath.
Ready to eat
After the chocolate has set, your Snickers Apple Rounds are officially ready to enjoy! Transfer them to an airtight container and store them in the fridge to keep everything fresh and firm. They’re best served slightly chilled and are perfect as a snack, dessert, or even a fun party platter!
Necessary Tools
- Sharp knife
- Cutting board
- Apple corer (or a spoon if you don’t have one!)
- Spoon or spatula for spreading
- Small microwave-safe bowl
- Parchment paper or a tray
- Freezer space!
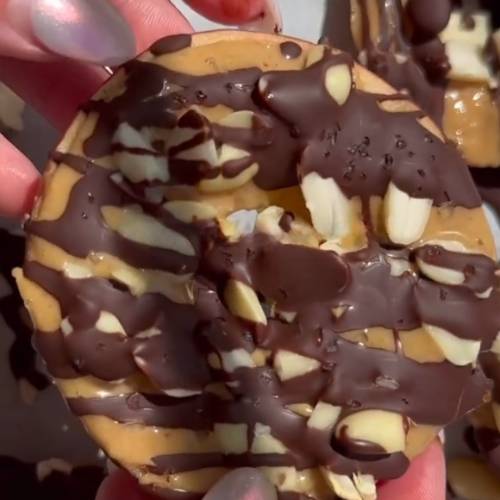
Snickers Apple Rounds (Easy No Bake Healthy Apple Dessert Recipe)
Cuisine: AmericanDifficulty: Easy6
servings10
minutes20
minutes30
minutesIngredients
2–3 apples (your choice I love Fuji or Granny Smith!)
1/2 cup creamy peanut butter
1/3 cup crushed peanuts
1/3 cup dark chocolate chips or chopped dark chocolate
1/2 tablespoon coconut oil
Directions
- Get your apples ready!
First, core your apples and slice them into round pieces about 1cm thick. Try to keep them nice and even so they’re easy to top. - Spread the peanut butter.
Take each apple slice and lather (yep, LATHER!) that creamy peanut butter on top. Make it thick and satisfying. - Sprinkle on the crunch.
Grab those crushed peanuts and sprinkle them over the peanut butter. It adds the best salty crunch! - Freeze to firm.
Pop the peanut butter-covered apple rounds into the freezer for a few minutes while you make the chocolate drizzle. This step helps the peanut butter stay put! - Melt the chocolate.
In a small bowl, melt the dark chocolate and coconut oil in the microwave. Heat it in 30-second bursts and stir in between until it’s smooth and silky. - Drizzle and chill again.
Take the apple slices out of the freezer and drizzle that yummy chocolate all over. Then put them back in the freezer for about 20 minutes so the chocolate can set. - Ready to eat!
Once everything’s set, keep them stored in the fridge (if you can resist eating them all at once). Enjoy your Snickers-style apple treats!
Notes
- Make sure the apples are completely dry before adding peanut butter wet apples make everything slide off!
- Don’t over-microwave the chocolate it can burn fast. Stir every 30 seconds!
- Be careful with your apple slices if they’re too thin, they can snap. Aim for that perfect 1cm thickness.
- Give the peanut butter time to chill before adding the chocolate trust me, it makes the process way easier.

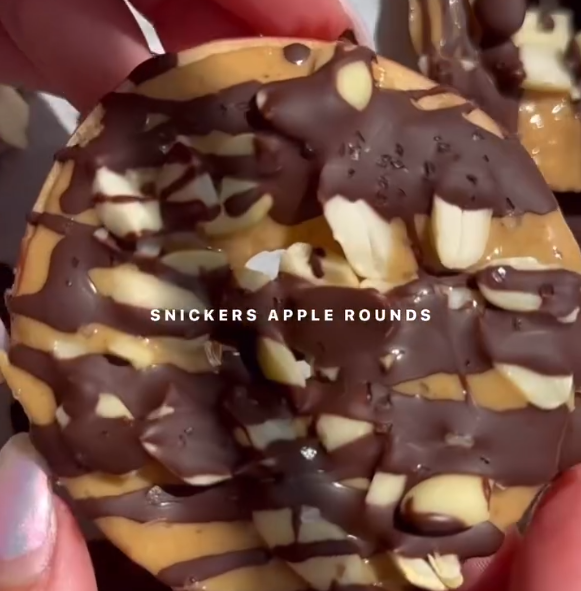
Serving Suggestions
- Serve these as a fun afternoon snack with a glass of milk or hot cocoa.
- Stack a few slices and turn them into a mini apple tower great for parties!
- Cut them into halves or quarters to make little bites for younger kids.
Fun Fact
Did you know? The original Snickers bar was created in 1930 and named after a horse! These apple rounds don’t have caramel, but they totally capture that Snickers vibe with chocolate, peanuts, and creamy goodness.
Conclusion
These Snickers Apple Rounds are seriously the snack of dreams. They’re easy to whip up, perfect for kids (and grown-ups!), and they taste like a treat you’d get at a fancy dessert place. Sweet, salty, crunchy, and creamy the perfect combo. Make a batch today and let the snacking begin!