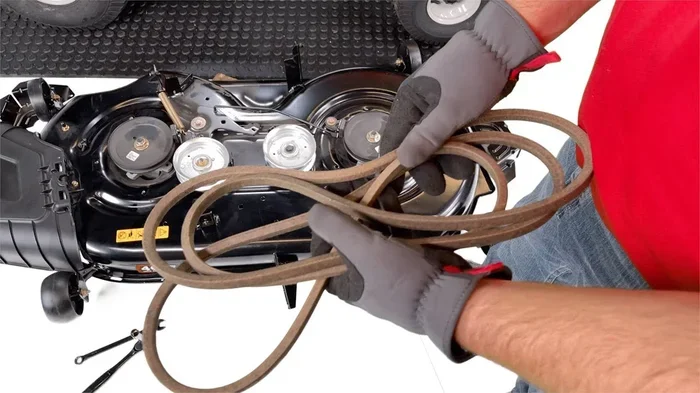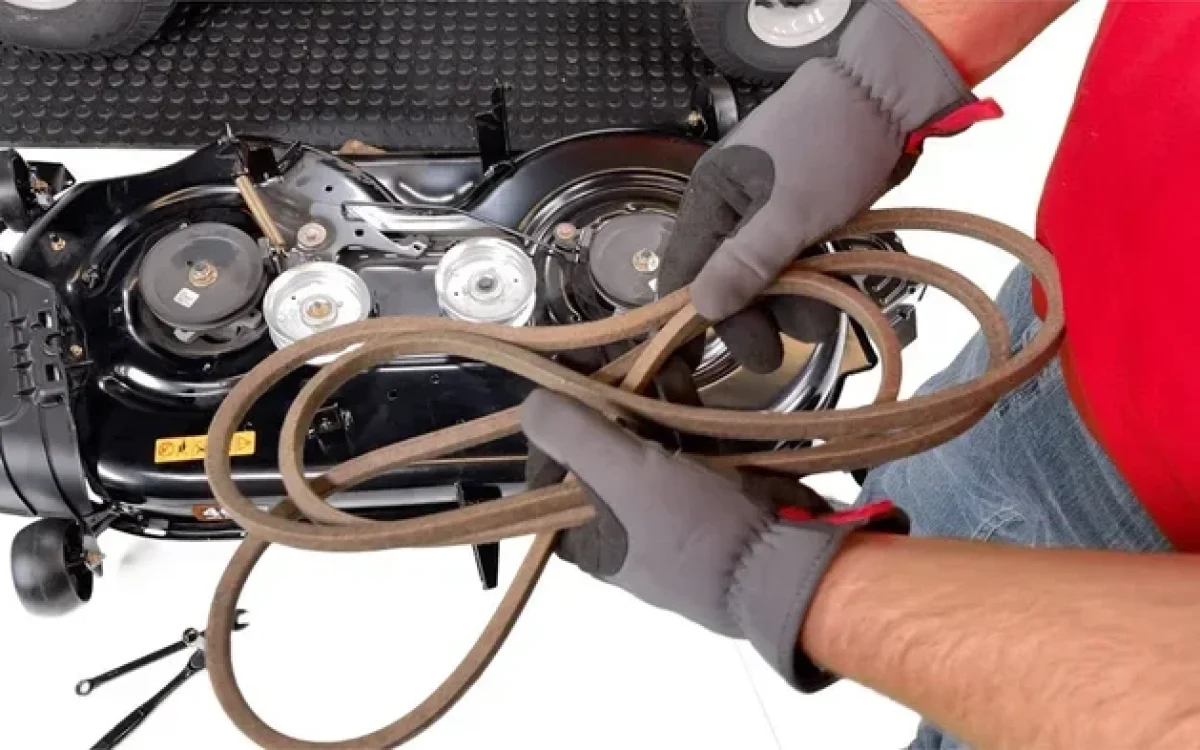
Learning how to put a belt on a riding lawn mower is easier than most homeowners think. This guide walks you through every step, from choosing the right belt size to routing it correctly on your mower deck. You will save money, avoid repair shop delays, and keep your mower running strong all season long.
There is something satisfying about fixing your own equipment. Whether your riding lawn mower belt snapped mid-mow or you are simply doing seasonal maintenance, knowing how to put a belt on a riding lawn mower is a valuable skill. It saves you time, money, and the hassle of waiting for a repair technician.
Many homeowners avoid this task because they assume it is too complicated. The truth is, most belt replacements take less than an hour once you know the steps. This guide breaks down the entire process in plain, simple language. You will learn how to identify the right belt, remove the old one, route the new one correctly, and tension it properly.
We also cover common mistakes, maintenance tips, and when it is smart to call a professional. By the end, you will feel confident tackling this repair yourself. Let us get started.
Key Takeaways
- Know your belt type: Drive belts and mower deck belts serve different purposes, and using the right one matters.
- Gather tools first: Having wrenches, sockets, and a belt diagram ready speeds up the entire process.
- Follow the routing path: Incorrect belt routing is the number one cause of slipping and premature wear.
- Check pulleys and tensioners: Worn pulleys can ruin a new belt fast if you do not inspect them first.
- Maintain regularly: Seasonal belt checks extend the life of your riding mower and prevent unexpected breakdowns.
- Safety comes first: Always disconnect the spark plug before working on any part of your mower.
📑 Table of Contents
Understanding Your Riding Lawn Mower Belt System
Before you grab a new belt, it helps to understand how the belt system works on your riding lawn mower. Most mowers use more than one belt, and each one has a specific job. Knowing the difference prevents costly mistakes.
Types of Belts on a Riding Mower
Your mower likely has two main belts. The drive belt connects the engine to the transmission. It is what makes your mower move forward or backward. The mower deck belt connects the engine or transmission to the cutting deck. It spins the blades that cut your grass.
Some mowers also use a serpentine belt that powers multiple components at once. These belts follow a winding path around several pulleys. The routing path matters a lot. Even a small mistake can cause the belt to slip or snap.
How the Belt System Works
When your engine runs, it turns a crankshaft pulley. That rotation travels through the belt to other pulleys. The drive belt sends power to the wheels. The deck belt sends power to the blades. A belt tensioner keeps the right amount of pressure on the belt so it does not slip.
Over time, belts stretch, crack, and wear out. Heat, dirt, and moisture all speed up this process. That is why checking your belts at least once per mowing season is a smart habit.
Tools and Materials You Will Need
Getting organized before you start makes the job much smoother. You do not need a lot of tools, but having everything ready saves trips back and forth to the garage.
Essential Tools
- Socket wrench set — for removing bolts and nuts
- Screwdrivers — flathead and Phillips head
- Pliers — for gripping and pulling
- Belt size chart or model number — to find the correct replacement
- New belt — match the exact size and type
- Work gloves — protects your hands from sharp edges
- Flashlight — helps you see inside tight spaces
- Jack and jack stands or ramps — for safe access underneath
Finding the Right Belt
Check your owner’s manual for the mower belt size and part number. You can also look up your model number online. Many retailers let you search by mower brand and model. Write down the exact belt type before you go shopping.
Do not guess. A belt that is too short or too long will not work properly. It may slip off or put too much strain on the engine. Taking a few extra minutes to get the right part saves a lot of frustration later.
Step by Step Guide to Put a Belt on a Riding Lawn Mower
Now for the main event. Follow these steps carefully, and you will have your new belt installed in no time. Remember to disconnect the spark plug before you start any work on your mower.
Step 1: Prepare the Mower
Park your mower on a flat, level surface. Engage the parking brake and turn the key to the off position. Pull out the spark plug wire and tuck it away from the plug. This prevents the engine from starting accidentally while you are working.
If your mower is low to the ground, use ramps or a jack to lift the front end. Place jack stands underneath for safety. Never work under a mower supported only by a jack.
Step 2: Locate the Old Belt
Find the belt you need to replace. The drive belt is usually near the engine and transmission area. The mower deck belt runs along the cutting deck underneath the mower.
Take a photo or sketch the belt routing before you remove anything. This makes reassembly much easier. You can also find a routing diagram in your owner’s manual or online.
Step 3: Remove the Old Belt
Release the tension on the old belt. Most mowers have a tensioner pulley that you can move to loosen the belt. Use your socket wrench to hold the tensioner in place while you slide the belt off the pulleys.
Carefully remove the belt. Look at the old belt closely. Check for cracks, fraying, glazing, or missing chunks. This tells you why the old belt failed and helps you avoid the same problem with the new one.
Step 4: Inspect Pulleys and Tensioners
Before installing the new belt, inspect all the pulleys. Spin each one by hand. They should rotate smoothly without wobbling or grinding. If a pulley is damaged, replace it before installing the new belt.
Check the tensioner spring too. A weak spring means the belt will not stay tight. Replace any worn parts now while you have everything apart. This small step prevents repeat repairs later.
Step 5: Route the New Belt
This is the most important step. Follow your photo or diagram exactly. Route the new belt around each pulley in the correct order. The belt should sit snugly in the grooves of every pulley.
Start with the engine crankshaft pulley. Then follow the path to the transmission or deck pulley. Make sure the belt is not twisted or crossed. A twisted belt will wear out very quickly and may cause damage.
Take your time with this step. If the routing looks wrong, stop and double-check before moving on.
Step 6: Tension the Belt
Once the belt is routed correctly, release the tensioner. The belt should now be snug but not overly tight. You want just enough tension that the belt does not slip when you engage the blades or drive the mower.
Some mowers use an automatic tensioner. Others require you to adjust the tension manually. If manual, push down on the belt between two pulleys. It should deflect about half an inch to one inch. Too tight and you will strain the bearings. Too loose and the belt will slip.
Step 7: Test the Installation
Reconnect the spark plug. Start the engine and let it idle. Engage the blades and listen for any unusual noises. A squealing sound usually means the belt is too loose or not routed correctly.
Take the mower for a short test drive. Engage the drive and check that the wheels respond smoothly. If everything feels right, you are done. If not, turn off the engine and recheck the belt routing and tension.
Common Mistakes to Avoid When Replacing a Mower Belt
Even experienced DIYers make mistakes. Here are the most common ones and how to avoid them.
Skipping the Belt Routing Diagram
This is the number one mistake people make. Without a clear diagram, it is easy to route the belt incorrectly. A misrouted belt will not spin the blades or drive the wheels properly. Always document the routing before removing the old belt.
Using the Wrong Belt Size
Not all belts are the same. Even belts that look similar may have different lengths or widths. Using the wrong lawn mower belt type causes slipping, poor cutting, and premature wear. Always match the exact part number.
Ignoring Worn Pulleys
A new belt on a damaged pulley will not last long. Worn pulleys create uneven surfaces that wear down the belt quickly. Always inspect and replace damaged pulleys during a belt change.
Over-Tightening the Belt
More tension is not always better. An over-tight belt puts extra stress on the engine bearings and pulley shafts. This leads to premature failure of those parts. Aim for the manufacturer’s recommended tension.
Forgetting to Disconnect the Spark Plug
This is a safety issue, not just a mistake. A mower can start unexpectedly if the spark plug is still connected. Always disconnect it before reaching into the engine area.
Maintaining Your New Belt for Longevity
Installing a new belt is only half the job. Proper maintenance keeps the belt performing well for many months.
Regular Inspection
Every few weeks, visually inspect your belt for signs of wear. Look for cracks, fraying, or glazing. Catching problems early lets you replace the belt before it breaks unexpectedly.
Keep the Belt Clean
Dirt, grass clippings, and moisture all damage belts over time. After mowing, scrape excess clippings off the deck. A clean belt lasts longer and runs cooler.
Store Properly During Off-Season
When winter comes, store your mower in a dry, covered area. Moisture and extreme temperatures degrade rubber belts. A simple cover can make a big difference in belt longevity.
Replace Belts in Pairs
If your mower uses multiple belts, consider replacing them all at the same time. A worn belt puts extra stress on a new belt. Replacing them together ensures even wear and balanced performance.
When to Call a Professional
There is no shame in calling a pro. Some situations are better left to experienced technicians. If you notice grinding noises that do not go away after a new belt installation, get help. If the belt keeps slipping despite correct tension, there may be a deeper mechanical issue.
Also call a professional if you are uncomfortable working underneath the mower. Safety always comes first. A qualified technician can diagnose problems quickly and get you back to mowing.
Final Thoughts
Learning how to put a belt on a riding lawn mower is one of the most useful skills a mower owner can have. It is straightforward, affordable, and incredibly rewarding when you finish the job yourself. With the right belt, the correct tools, and this guide, you can handle the replacement in under an hour.
Remember to take your time, follow the routing diagram, and inspect all components before reassembly. A little care goes a long way in extending the life of your new belt and your mower overall. Your wallet will thank you, and your lawn will look better than ever.
Now that you know the process, grab your tools and give it a try. You might be surprised at how easy it really is. Happy mowing!
Frequently Asked Questions
What belt do I need for my riding lawn mower?
Check your owner’s manual for the exact belt size and part number. You can also look up your mower model online or at a local parts store. Always match the brand, model, and belt type to ensure a proper fit.
How do I know if my riding mower belt needs replacing?
Look for visible cracks, fraying, glazing, or stretching. If the belt slips, squeals, or fails to spin the blades or drive the wheels, it is time for a replacement. A visual inspection every few weeks helps catch wear early.
Can I reuse the old belt if it looks okay?
It is not recommended. Even if the old belt looks fine, rubber degrades over time and may fail soon. A new belt ensures reliable performance and prevents unexpected breakdowns during mowing.
How long does a riding mower belt last?
Most riding mower belts last between 100 and 300 hours of use, or about one to two mowing seasons. Regular maintenance, proper tension, and clean conditions help extend belt life significantly.
What causes a mower belt to slip off?
Belt slipping usually happens due to incorrect routing, loose tension, worn pulleys, or a belt that is the wrong size. Double-check the routing diagram and tension settings if your belt keeps coming off.
Is it hard to replace a belt on a riding lawn mower?
No, it is one of the easier maintenance tasks you can do at home. With basic tools and a clear guide, most homeowners complete the job in under an hour. It requires no special skills, just patience and attention to detail.