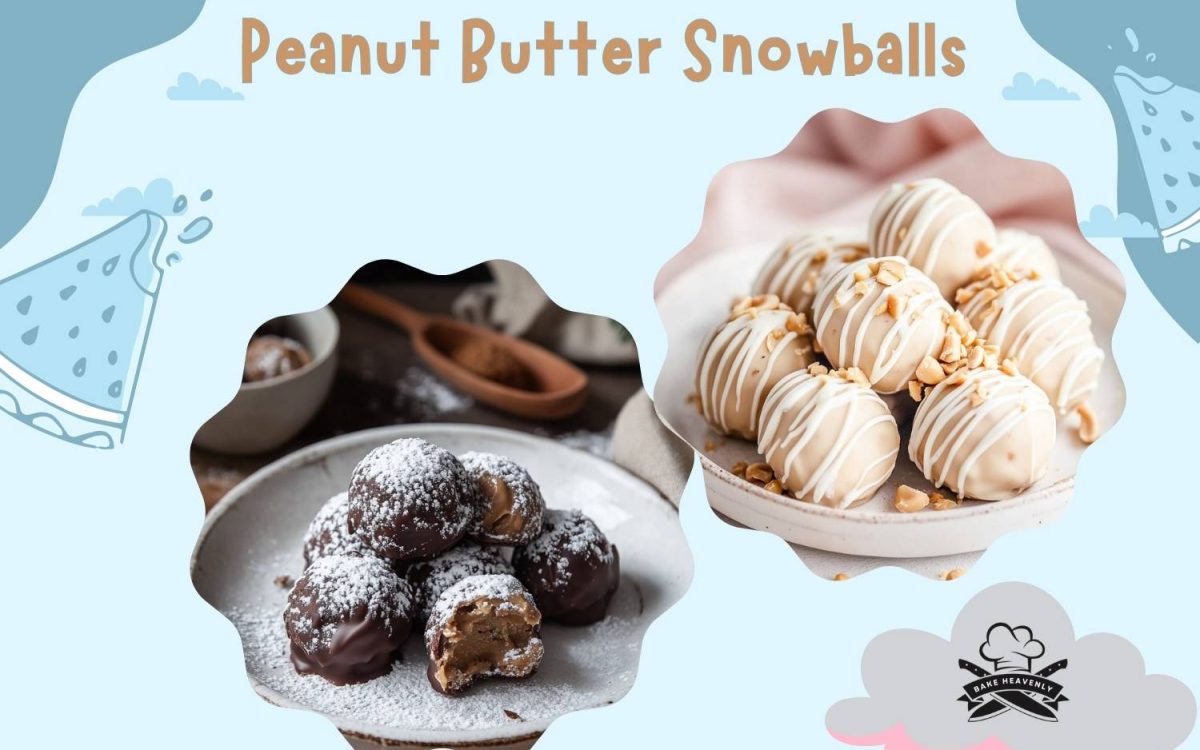
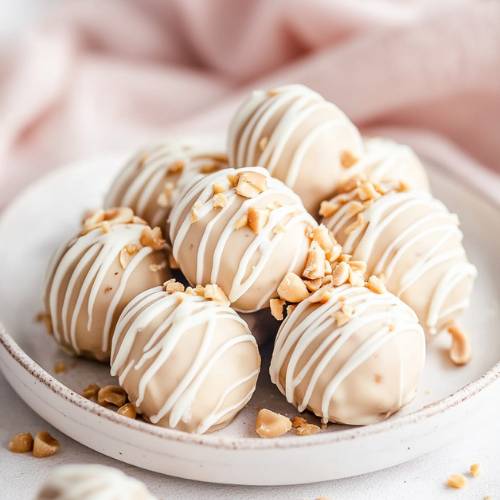
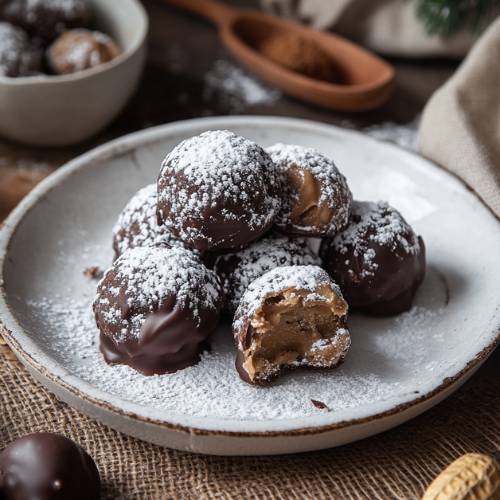
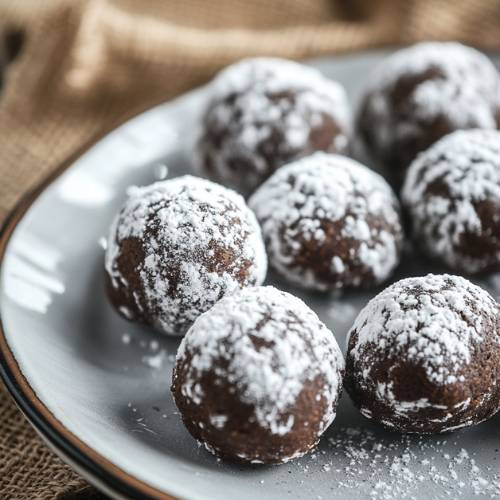
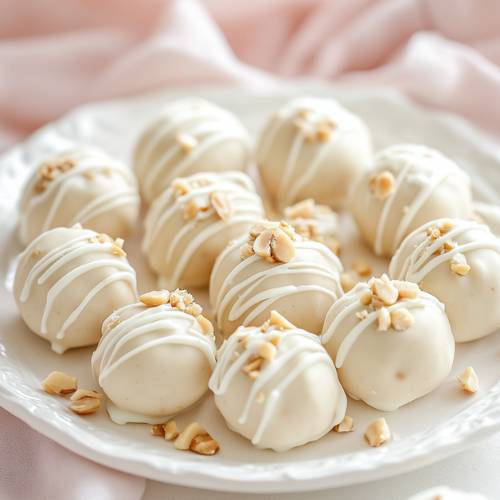
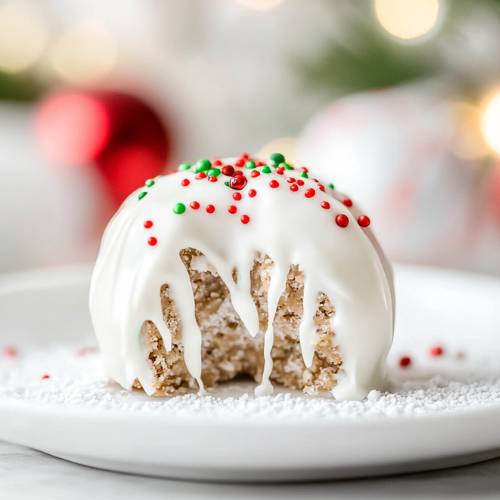
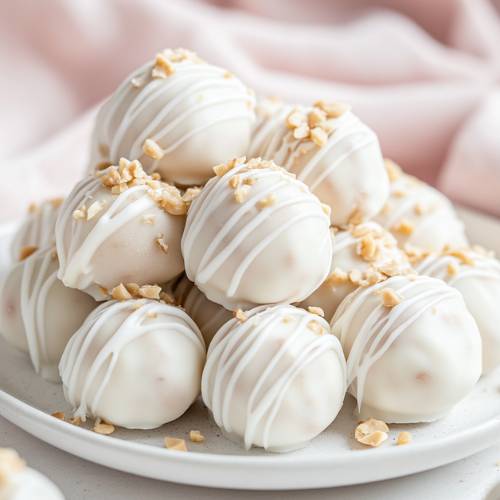
Peanut Butter Snowballs have been a favorite holiday treat in my family for years! My mom used to make them every December, and now, I carry on the tradition. These delicious little bites are made with creamy peanut butter, a touch of butter, and a smooth white chocolate coating. They’re simple, fun to make, and taste just like a winter wonderland in your mouth!
Method
Mixing the Filling
To begin, you need to prepare the peanut butter mixture that forms the base of these delicious snowballs. In a large mixing bowl, combine the peanut butter, room temperature butter, icing sugar, vanilla extract, and salt. Using an electric mixer, beat the ingredients together on medium speed. The goal is to create a smooth and well-combined filling. Mixing should take about 2-3 minutes, ensuring that the icing sugar is fully incorporated and the mixture has a thick, dough-like consistency. If you find that the mixture is too sticky, you can let it sit for a couple of minutes to firm up before moving to the next step.
Shaping the Snowballs
Once your peanut butter mixture is well blended, it’s time to shape it into bite-sized balls. Scoop out about 2 tablespoons of the mixture and roll it between your palms to create smooth, round balls. If the mixture sticks to your hands too much, lightly dust your palms with a bit of icing sugar. Place each rolled ball onto a parchment-lined plate or cutting board to prevent sticking. Continue rolling until all of the mixture is used up. You should have approximately 10-12 snowballs by the time you’re finished.
Melting the Chocolate
Now that your peanut butter balls are shaped and ready, it’s time to prepare the coating. In a shallow microwave-safe bowl, add the white chocolate melting wafers. Microwave the chocolate in 20-second intervals, stirring well after each round to ensure even melting. Be careful not to overheat the chocolate, as this can cause it to seize up and become grainy. Once the chocolate is completely smooth and melted, it’s ready for dipping.
Dipping the Peanut Butter Balls
Using a fork, carefully lower one peanut butter ball into the melted chocolate, ensuring it is fully coated. Lift the ball out of the chocolate, allowing the excess to drip off before placing it back onto the parchment-lined plate. Using a fork instead of a spoon helps drain excess chocolate efficiently, creating a cleaner and more even coating. Repeat the process for all the peanut butter balls until they are all coated in a smooth layer of white chocolate.
Chilling & Setting
Once all of the peanut butter balls have been coated in chocolate, transfer the plate or cutting board to the refrigerator. Let them chill for at least 1-2 hours or until the chocolate has completely hardened. The cooling process allows the chocolate shell to set, giving the snowballs their signature firm coating. Once fully set, they are ready to enjoy!
Necessary Tools
- Electric mixer
- Mixing bowl
- Measuring cups & spoons
- Shallow bowl (for melting chocolate)
- Fork (for dipping)
- Parchment paper
- Plate or cutting board
Peanut Butter Snowballs
Cuisine: AmericanDifficulty: Easy10
servings15
minutes15
minutesIngredients
1 cup peanut butter
1/4 cup salted butter (room temperature)
2 cups icing sugar
1 tsp vanilla extract
1 tsp salt
2 cups white chocolate melting wafers
Directions
- Mix the Filling: Using an electric mixer, combine the peanut butter, butter, icing sugar, vanilla, and salt. Mix on medium speed until you have a smooth, well-combined mixture. This should take about 2-3 minutes.
- Shape the Snowballs: Scoop out 2 tablespoons of the peanut butter mixture and roll them into smooth balls using your hands. Place them on a parchment-lined plate. You should end up with 10-12 peanut butter balls.
- Melt the Chocolate: In a shallow bowl, melt the white chocolate wafers. You can do this using a microwave in 20-second intervals, stirring in between, until smooth.
- Dip the Peanut Butter Balls: Using a fork, dip each ball into the melted chocolate, making sure it’s fully coated. Let the excess chocolate drip off before placing them back onto the parchment-lined plate.
- Chill & Set: Place the dipped snowballs in the fridge for 1-2 hours until the chocolate hardens.
- Enjoy! Store them in the fridge or freezer and enjoy whenever you crave a sweet, peanut-buttery treat!
Notes
- Mixing Tip: Be sure to mix the peanut butter filling well so it becomes smooth and doesn’t crumble when rolling.
- Rolling Tip: If the mixture sticks too much to your hands, lightly coat your palms with a bit of icing sugar.
- Melting Chocolate: Avoid overheating the chocolate; melt it in short bursts and stir in between to prevent burning.
- Dipping Technique: Use a fork to dip the peanut butter balls into the chocolate rather than a spoon. This helps remove excess coating and prevents a mess.

Serving Suggestions
- Enjoy them straight from the fridge for a firm, crunchy bite.
- Let them sit for 5 minutes at room temperature for a softer texture.
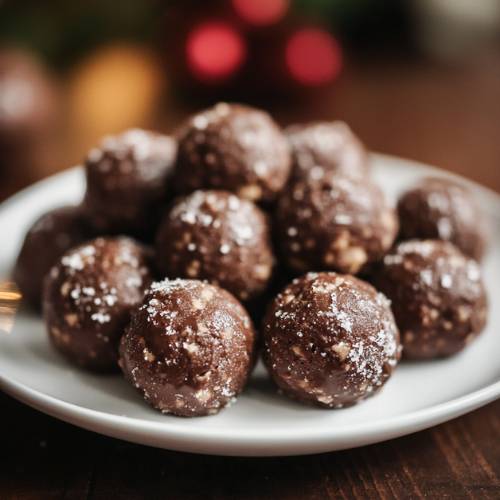
- Sprinkle crushed nuts or holiday sprinkles on top before the chocolate sets for extra flair.
- Serve with a warm cup of hot cocoa or coffee for a cozy pairing.
Fun Fact
Did you know that peanut butter was originally made for people who couldn’t chew hard foods? In the early 1900s, it was marketed as a protein-rich health food, and today, it’s a beloved ingredient in sweets worldwide!
Conclusion
Peanut Butter Snowballs are a simple yet delightful treat that brings back so many fond holiday memories. With just a few ingredients and an easy process, they’re perfect for making with family or gifting to friends. Whether you enjoy them as a holiday tradition or a year-round treat, these little snowballs are guaranteed to be a hit!