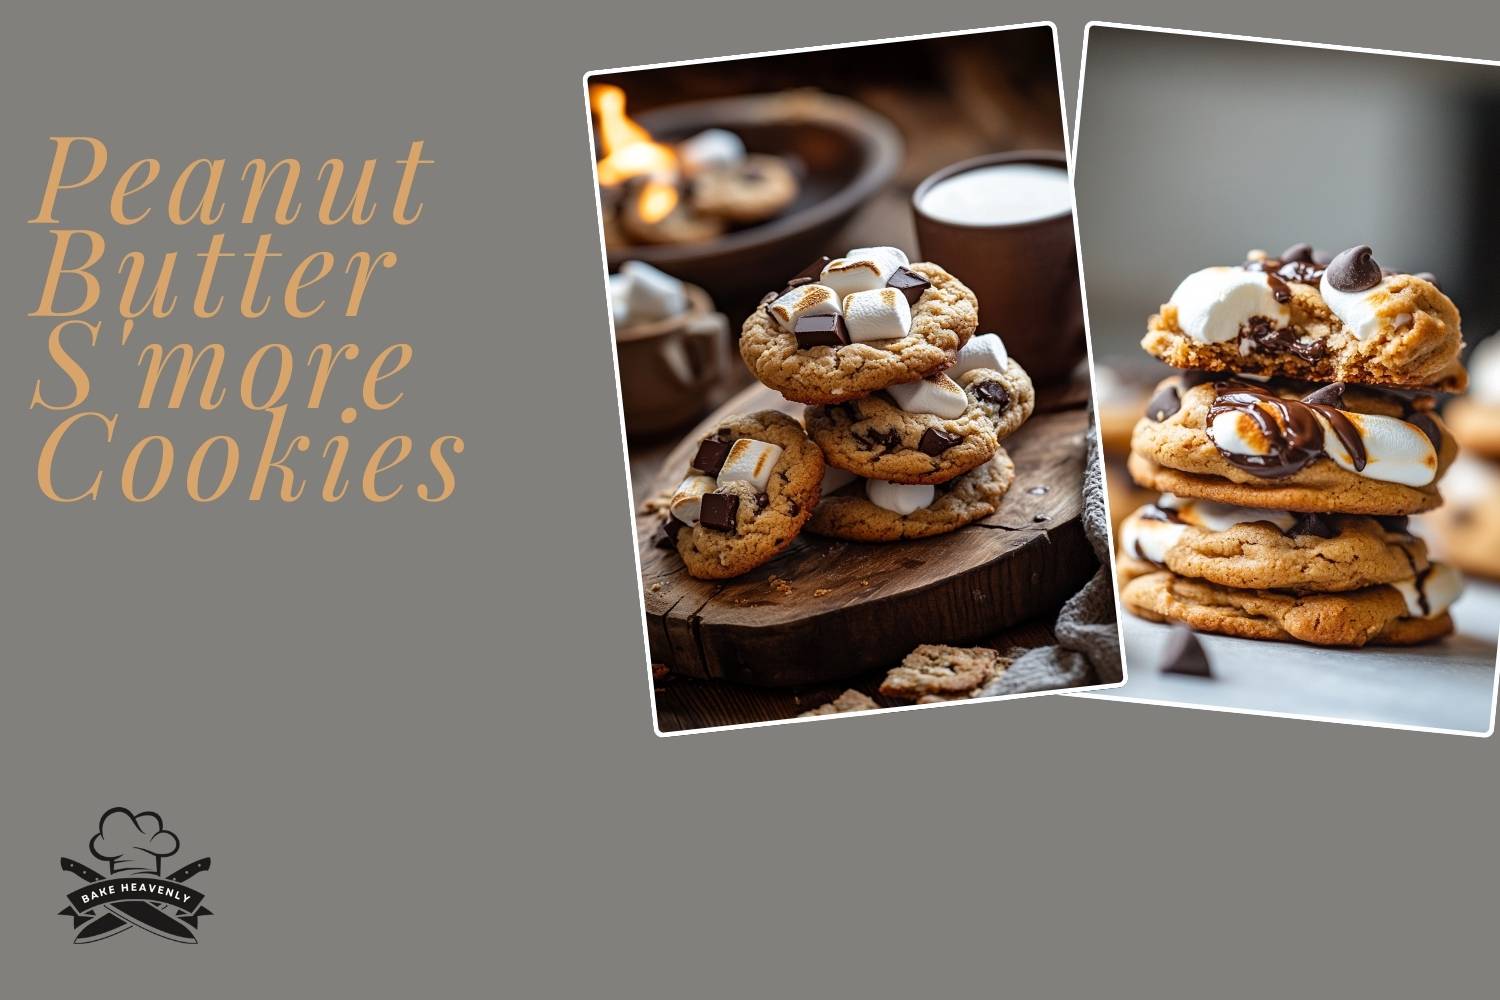
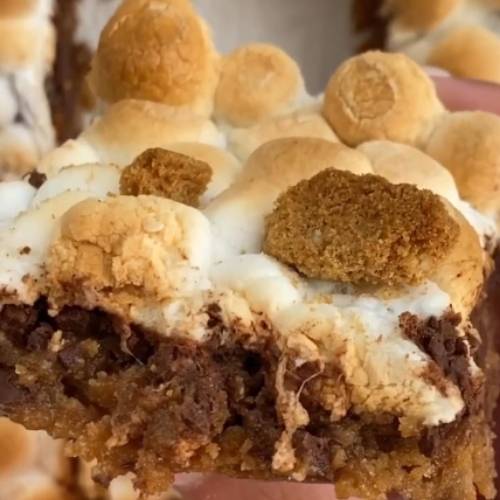
Who else loves peanut butter s’mores bars? I sure do! But sometimes, I want that gooey, chocolate-marshmallow goodness without the campfire. That’s why I came up with these Peanut Butter S’mores Bars. They’re rich, chewy, sweet, and made right in your oven. These are great for kids, adults, and anyone who loves a yummy treat that’s a little different from the usual!
Method
Make the Crust
To start, grab a mixing bowl and combine the almond flour, peanut butter, honey or maple syrup (whichever you’re using), melted coconut oil, and vanilla extract. Stir everything together really well until it forms a thick, smooth dough. The mixture should be slightly sticky but hold together when pressed. If it feels too dry, you can add a tiny bit more peanut butter or oil. This crust is like a soft, nutty graham cracker base that gives the bars that classic s’mores feel just healthier and extra flavorful.
Bake the Crust
Once the dough is ready, line an 8×8 inch pan or loaf tin with parchment paper to make cleanup easier and to prevent sticking. Press the dough evenly into the bottom of the lined pan, spreading it out with a spoon or your hands until it forms a flat layer. Be sure to reach the corners and edges so everything bakes evenly. Now, place the pan in a preheated oven at 350°F (175°C) and bake for about 20 minutes. You’ll know it’s ready when the edges start to turn a light golden brown. After baking, take it out and let it cool completely. This is important so the next layers go on properly.
Add the Chocolate
Once the crust has cooled down, it’s time for the chocolate layer. Take one cup of chocolate chips and sprinkle them evenly over the entire surface of the crust. You don’t have to melt them first the oven will take care of that in the next step. For extra gooeyness, you can gently press the chips into the crust using the back of a spoon. This helps them melt more evenly and stay in place when you add the marshmallows.
Top with Marshmallows
Next comes the fun part the marshmallows! Take about 1 to 2 cups of mini marshmallows and sprinkle them over the chocolate layer. Try to cover the chocolate evenly so every bite has that perfect gooey stretch. You can press them down just a little so they stick, but don’t squish them too much they’ll puff up in the oven!
Final Bake
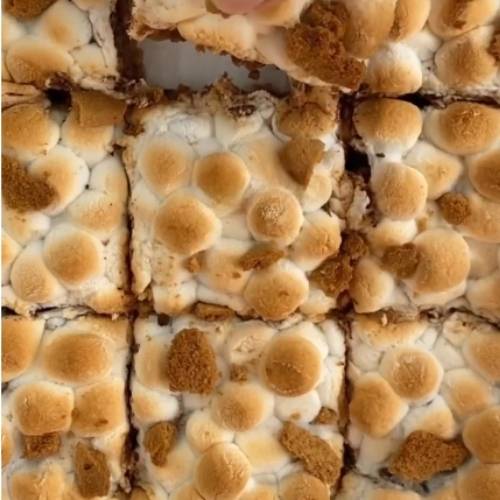
Now it’s time for the second round of baking. Place the pan back into the oven, still at 350°F, and bake for another 15 to 20 minutes. Watch closely during the last few minutes because marshmallows can go from golden brown to burnt very quickly. You’re looking for a toasty, caramelized top with that perfect s’mores look.
Cool and Chill
Once the marshmallows are nice and golden, take the pan out and let it cool on the counter. Don’t try to slice them yet they’re way too gooey while warm! Once they’ve cooled to room temperature, place the pan in the fridge for at least 30 minutes. This helps everything firm up so the bars are easier to slice and hold together nicely when served. And that’s it your peanut butter s’mores bars are ready to enjoy!
Necessary Tools
- Mixing bowl
- Spoon or spatula
- 8×8 inch pan or loaf tin
- Parchment paper
- Measuring cups and spoons
- Oven
Peanut Butter S’mores Bars Gooey, Chocolatey, and So Easy!
Cuisine: AmericanDifficulty: Easy9
servings10
minutes40
minutes50
minutesIngredients
For the Crust:
1 ¾ cups almond flour
2–3 heaping tablespoons peanut butter
⅓ cup honey OR maple syrup (use maple syrup for a vegan option!)
¼ cup melted coconut oil
2 teaspoons vanilla extract
For the Chocolate Layer:
1 cup chocolate chips
For the Marshmallow Layer:
1–2 cups mini marshmallows (add more for extra gooey fun!)
Directions
- Make the Crust:
In a mixing bowl, stir together the almond flour, peanut butter, honey or maple syrup, melted coconut oil, and vanilla. Mix until it forms a thick dough. - Bake the Crust:
Line your 8×8 pan with parchment paper and press the dough evenly into it. Bake at 350°F (175°C) for about 20 minutes, or until the edges turn slightly golden. Let it cool completely before moving to the next step. - Add the Chocolate:
Once the crust is cool, sprinkle the chocolate chips evenly across the top. You can press them down a bit with a spoon so they melt into the crust during baking. - Top with Marshmallows:
Add the mini marshmallows on top of the chocolate chips in an even layer. - Final Bake:
Put the pan back in the oven at 350°F for another 15–20 minutes, or until the marshmallows are golden brown and toasty. Keep an eye on them and marshmallows can brown quickly! - Cool and Chill:
Let the bars cool completely. Then pop them in the fridge so they firm up and are easier to slice.
Notes
- Make sure the crust is completely cool before adding the chocolate chips. If it’s too warm, they might melt unevenly and make a mess.
- Keep a close eye on the marshmallows while baking. They can go from golden to burnt really fast!
- Let the bars set in the fridge so they’re easier to cut and hold their shape.


Serving Suggestions
- Serve cold or slightly warmed.
- Add a scoop of vanilla ice cream on top for an extra special treat!
- Pack them for school lunches or picnics.
- Cut into mini squares for a sweet party snack.
Fun Fact
Did you know s’mores got their name from the words “some more”? Because when people tasted them, they always wanted some more! Totally makes sense, right?
Conclusion
These Peanut Butter S’mores Bars are a tasty twist on the classic campfire treat with no fire needed! The almond flour crust is soft and nutty, the chocolate layer is melty and rich, and the toasted marshmallows on top? Perfection. Whether you’re baking for friends, kids, or just yourself (no judgment!), these bars are sure to be a big hit. Let me know if you try them and don’t forget to share a pic of your gooey creation!