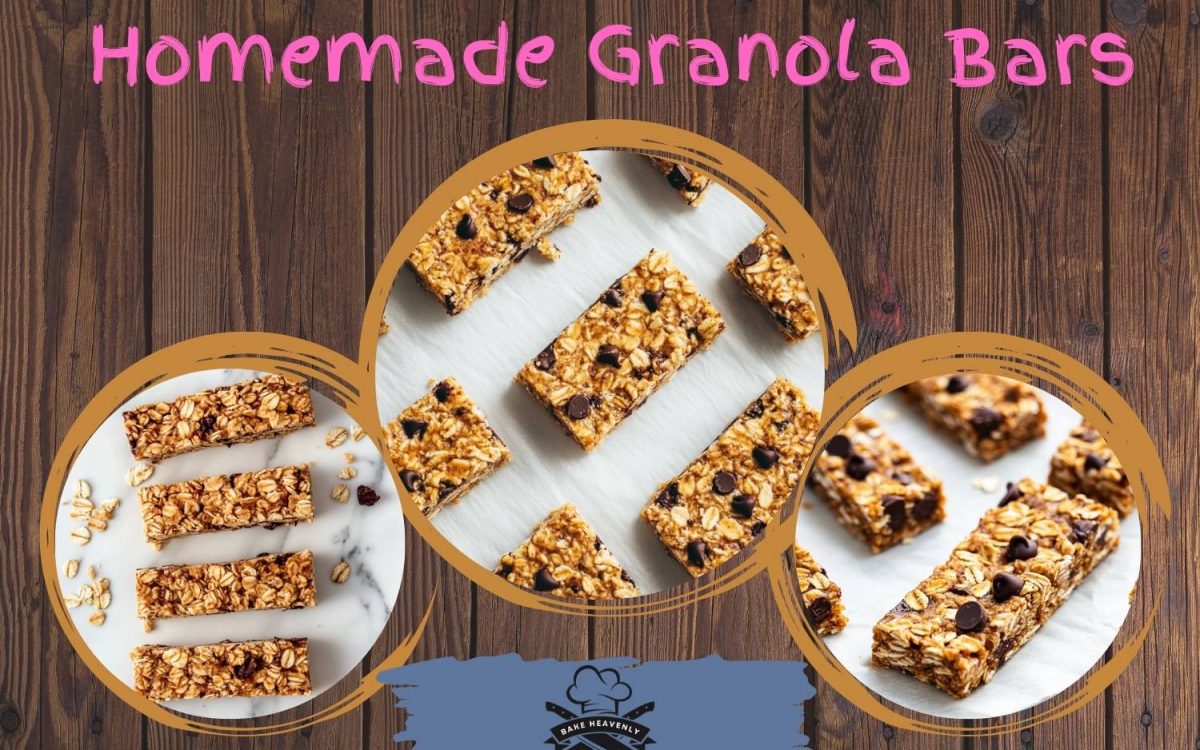
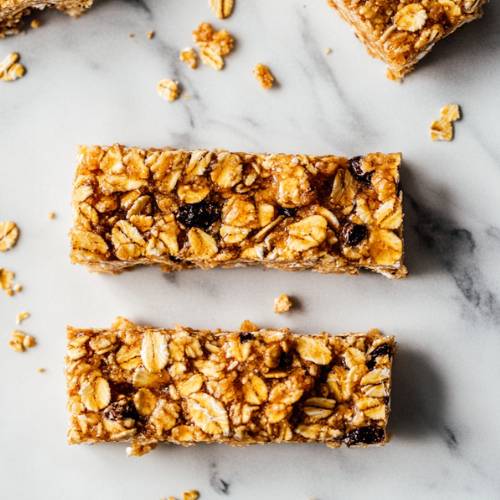
Who doesn’t love a snack that’s chewy, sweet, and actually good for you? I’m super excited to share this super simple and super tasty recipe for homemade granola bars. They’re perfect for school lunches, after-school snacks, or even as a quick breakfast on the go. And guess what? You don’t even need to bake them!
These granola bars are made with wholesome ingredients like oats, dates, and nut butter and you can even add your favorite mix-ins like chocolate chips, nuts, or dried fruit. Let’s get into it!
Method
Soften the Dates
First things first let’s get those dates nice and soft. This step is super important because soft dates blend more easily and help create a smoother batter. If your dates are a little dry or firm, soak them in warm water for about 5 minutes. This rehydrates them and makes them soft and sticky, which is exactly what we want for binding the granola bars together. After soaking, drain the water completely and set the dates aside.
Blend It Up
Next, it’s time to make the batter. In your food processor or high-powered blender, combine the softened dates, quick oats, honey or maple syrup, coconut oil or melted butter, nut or seed butter, vanilla extract, and cinnamon powder. Pulse the ingredients several times, stopping to scrape down the sides if needed. You want the mixture to become thick and slightly sticky, with the oats breaking down just enough to help everything stick together, but not turning into a total mush. The consistency should be dense, like a soft dough that holds its shape when pressed.
Mix in the Fun Stuff
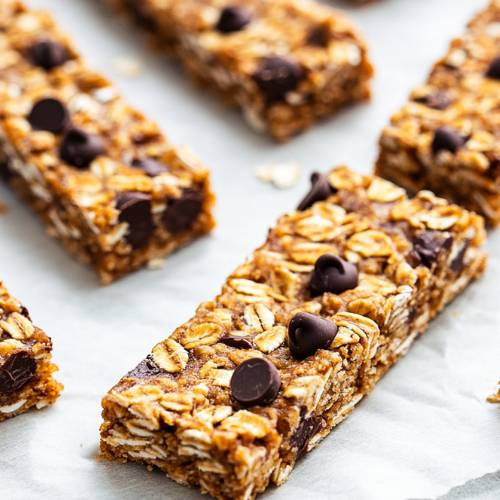
Once your base batter is ready, transfer it to a mixing bowl. Now comes the fun part adding your favorite extras! Whether it’s chocolate chips, raisins, chopped nuts, shredded coconut, or even mini marshmallows, this is your chance to get creative and make the granola bars your own. Use a spoon or spatula to gently fold in the add-ins until they’re evenly distributed throughout the mixture.
Shape It
Now that your granola bar dough is packed with flavor and ready to go, line a loaf tin or small baking dish with parchment paper. This will make it much easier to remove the bars once they’re set. Scoop the mixture into the tin and press it down firmly using the back of a spoon, spatula, or even clean hands. Make sure it’s evenly spread and packed tightly into all corners. A tightly packed mixture will help your bars hold together better once they’re sliced.
Chill It
Place the filled loaf tin into the freezer and let it chill for about 20–30 minutes. This step helps the bars firm up and set, making them easier to slice cleanly. If you’re not in a rush, you can also pop them in the fridge for a couple of hours instead.
Slice & Store
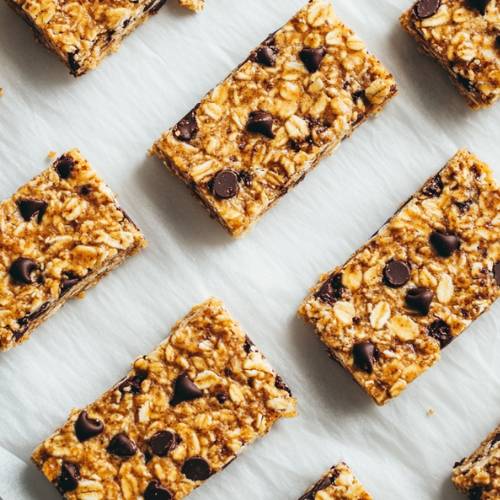
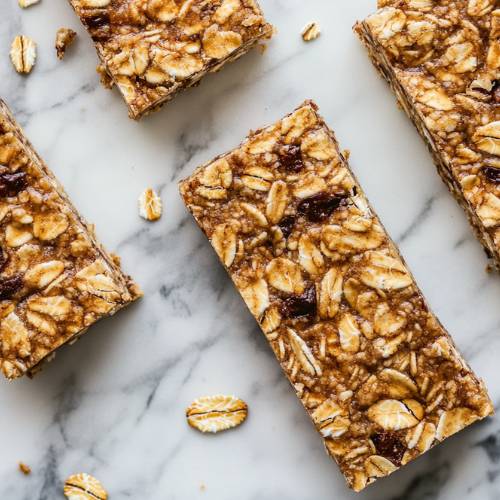
After chilling, take the tin out of the freezer. Use the edges of the parchment paper to lift the entire block out of the tin. Place it on a cutting board and slice into bars or squares, depending on your preference. Store your homemade granola bars in an airtight container in the fridge they’ll stay fresh and chewy for up to a week!
Necessary Tools
- Food processor or blender
- Mixing bowl
- Spoon or spatula
- Loaf tin or small baking dish
- Parchment paper
- Freezer
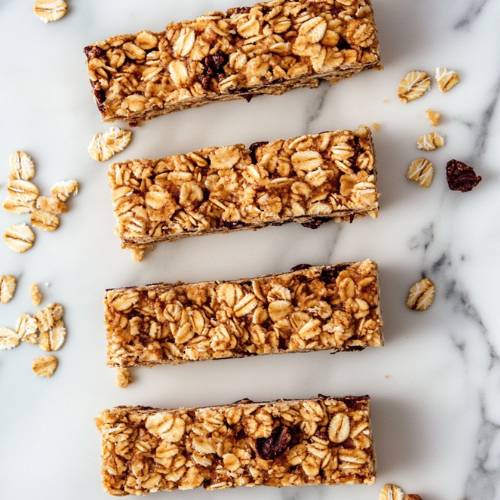
Homemade Granola Bars – No-Bake & Totally Yummy!
Cuisine: AmericanDifficulty: Easy10
servings10
minutes10
minutesIngredients
1 cup dates, pitted and softened
2 cups quick oats
1/3 cup honey or maple syrup
2 tablespoons coconut oil or melted butter
3 tablespoons nut or seed butter (like peanut butter or sunflower butter)
1 teaspoon vanilla extract
1 teaspoon cinnamon powder
Your favorite add-ins (chocolate chips, raisins, shredded coconut, chopped nuts, etc.)
Directions
- Soften the dates: If your dates are a little dry, soak them in warm water for about 5 minutes, then drain.
- Blend it up: Add the softened dates, oats, honey/maple syrup, coconut oil, nut butter, vanilla, and cinnamon into your food processor. Pulse it until it turns into a thick, sticky batter.
- Mix in the fun stuff: Pour the batter into a bowl and stir in your favorite add-ins. This is the fun part get creative!
- Shape it: Line your loaf tin with parchment paper and press the batter evenly into it.
- Chill it: Pop it in the freezer for 20–30 minutes to firm up.
- Slice & store: Once set, remove from the tin, slice into bars, and keep them in the fridge. Done!
Notes
- Don’t skip softening the dates! Hard dates can be tricky to blend and might make the batter lumpy.
- If the batter is too dry, add a little more honey or nut butter just a spoonful at a time.
- Press the batter firmly into the tin so your bars hold together well when sliced.
- Use parchment paper! It makes taking the bars out of the tin super easy.
Serving Suggestions
- Pack one in a lunchbox for a sweet surprise.
- Crumble it over yogurt with fresh berries for a yummy parfait.
- Add a drizzle of melted chocolate on top for a dessert twist.
- Pair with a glass of milk or your favorite smoothie for a full snack.
Fun Fact
Did you know that oats are full of fiber and can keep you full longer? That means these granola bars are not just tasty they’re also brain fuel for school or work!
Conclusion
That’s it easy, no-bake homemade granola bars that are as fun to make as they are to eat. They’re full of good stuff, and the best part is you can change the flavors every time with different add-ins. Whether you’re a kid, a teen, or a grown-up, these bars are sure to be a favorite snack in your house.