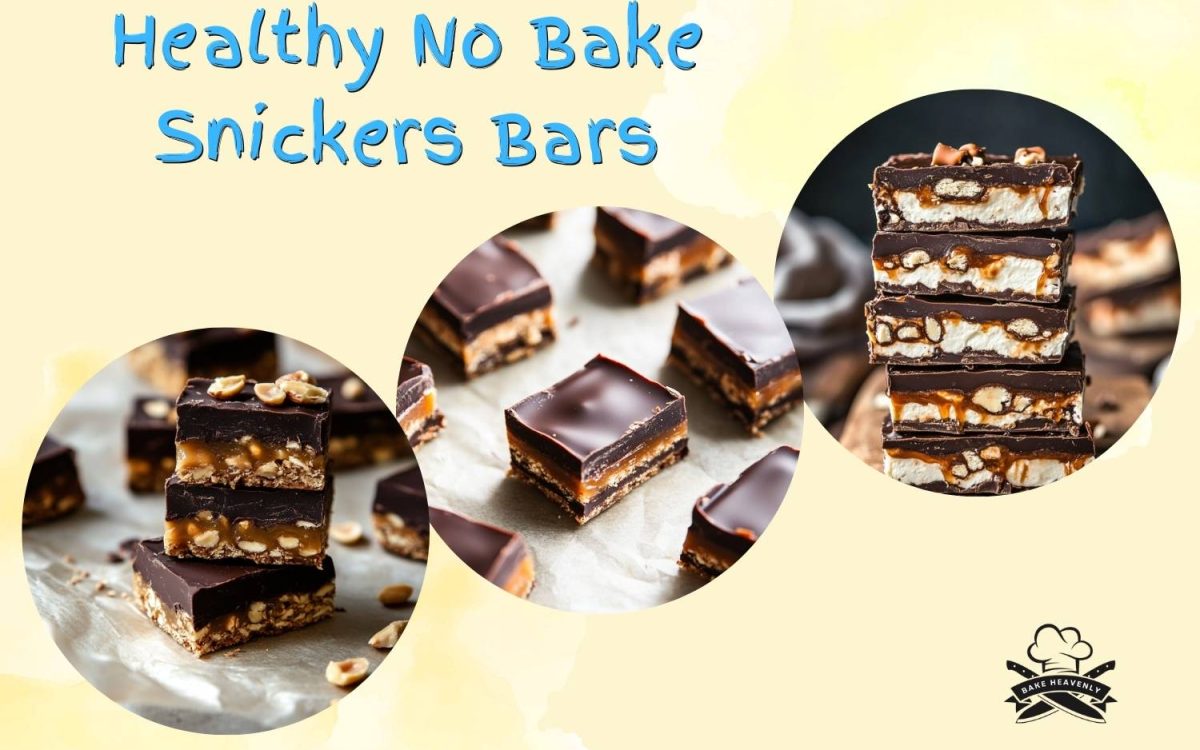
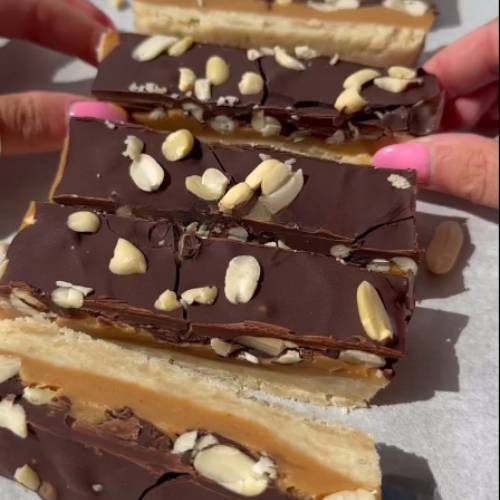
If you’re craving something sweet but still want to stay on track with your health goals, these healthy no bake Snickers bars are the perfect solution. They’re rich, chocolatey, and packed with peanut butter goodness—without the need for baking or processed ingredients. This easy homemade dessert gives you all the classic Snickers flavor in a better-for-you version made with simple, real food ingredients. Whether you need a quick snack, a post-workout treat, or a family-friendly dessert, these healthy no bake Snickers bars are going to become a favorite in your kitchen.
Method
Make the base
To start, prepare the base layer by grabbing a medium mixing bowl. Add in the almond flour, melted coconut oil, honey (start with 2 tablespoons and add another if you like it sweeter), and vanilla extract. Stir everything together until the mixture becomes thick and dough-like. It should hold together easily when pressed. Once combined, take a small loaf tin and line it with parchment paper this step is super important for easy removal later. Transfer the base mixture into the tin and press it down firmly and evenly using a spoon or spatula. Try to make the surface as smooth and even as possible, since this will support the layers above. Set the tin aside while you prepare the next layer.
Make the caramel layer
In a separate clean bowl, combine the peanut butter, honey, melted coconut oil, and vanilla extract to create the caramel layer. Stir the mixture until it becomes smooth, creamy, and glossy. The texture should be pourable but not too runny if it seems too thin, let it sit for a few minutes at room temperature or pop it in the fridge briefly to firm up just a bit. Once ready, carefully pour this caramel mixture over the prepared base layer in the loaf tin. Use a spoon to spread it evenly across the surface. Then, sprinkle the crushed peanuts on top of the caramel layer for that signature crunch you expect in a Snickers bar. Once everything looks nice and even, place the loaf tin in the freezer and allow the caramel layer to set for around 15 minutes. This will help keep the layers distinct and sturdy when you add the chocolate topping.
Make the chocolate layer
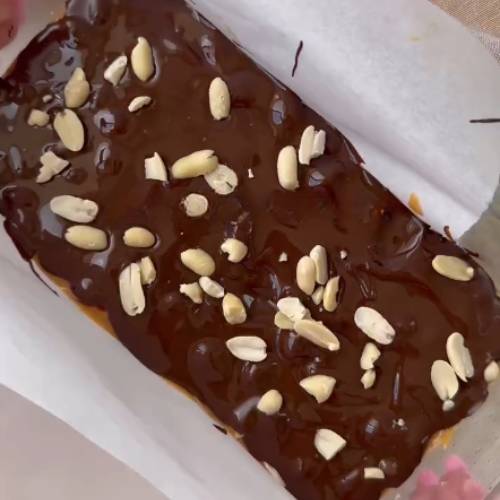
While the caramel is setting in the freezer, it’s time to melt the chocolate. In a microwave-safe bowl, add the dark chocolate chips or chunks along with the coconut oil. Heat it in the microwave in 30-second bursts, stirring well after each round, until the chocolate is completely melted and silky smooth. Be careful not to overheat it slow and steady is key to getting a nice glossy finish. Once melted, take the tin out of the freezer and pour the chocolate mixture over the set caramel and peanut layer. Gently tilt or spread it with a spoon to make sure it covers the top evenly. If you’d like, sprinkle a few extra crushed peanuts on top to make it look extra special and give a hint of what’s inside.
Freeze
Now that all the layers are complete, place the entire loaf tin back into the freezer and let it chill for at least 2 hours. This step is important because it allows the bars to firm up completely and makes slicing much easier. Once set, lift the entire bar block out of the tin using the parchment paper. Place it on a cutting board and slice into bars while still cold this helps prevent the chocolate from cracking or the caramel from getting too soft.
Necessary Tools
- Medium mixing bowls (you’ll need two)
- Spoon or spatula
- Measuring cups and spoons
- Loaf tin (a small one works best)
- Parchment paper
- Microwave-safe bowl (for melting chocolate)
- Freezer space
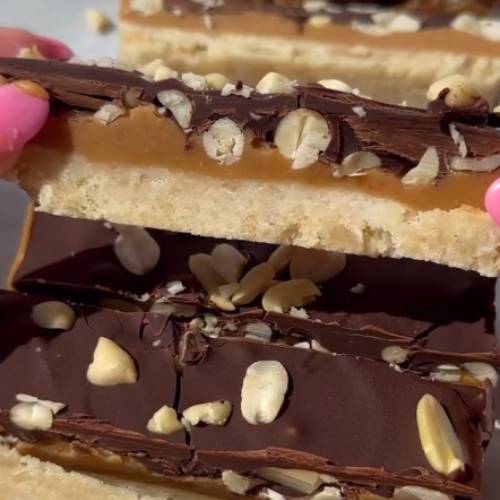
Healthier No Bake Snickers Bars Recipe – Easy Homemade Chocolate Peanut Treat
Cuisine: AmericanDifficulty: Easy8
servings15
minutes1
hour1
hour15
minutesIngredients
For the base layer:
1 1/4 cups packed almond flour
2 tablespoons coconut oil, melted
2–3 tablespoons honey (depending on how sweet you like it)
1 teaspoon vanilla
For the caramel layer:
2/3 cup peanut butter
2 tablespoons honey
1 tablespoon coconut oil, melted
1 teaspoon vanilla
1/2 cup crushed peanuts
For the chocolate layer:
1 cup dark chocolate chips or chunks
1 tablespoon coconut oil
Directions
- Make the base:
In a bowl, mix together the almond flour, melted coconut oil, honey, and vanilla. Stir until it turns into a dough-like mixture. Press this into a loaf tin lined with parchment paper. Smooth it out with the back of a spoon. Set it aside while we make the next layer. - Make the caramel layer:
In a new bowl, mix the peanut butter, honey, melted coconut oil, and vanilla. Once it’s nice and creamy, pour it over the base layer. Spread it out evenly. Then sprinkle the crushed peanuts right on top. Pop it in the freezer for about 15 minutes to set. - Make the chocolate layer:
In a microwave-safe bowl, melt the dark chocolate and coconut oil together. Microwave for 30 seconds at a time, stirring between each round, until smooth and melty. Pour this chocolate goodness over your peanut layer. Spread it out and (optional!) sprinkle a few more peanuts on top. - Freeze:
Place the whole thing back in the freezer for about 2 hours, or until everything is firm and ready to slice.
Notes
- Don’t skip the parchment paper it makes removing the bars super easy.
- Make sure your caramel layer isn’t too runny before adding it. If it is, stick it in the fridge for 5 minutes to thicken a bit.
- Use smooth peanut butter for the best texture unless you want a crunchier caramel layer.
- Cut the bars right after removing from the freezer it helps them stay neat and not melt while you’re slicing..
Serving Suggestions
These bars taste amazing straight out of the fridge if you like a firm bite. Want them a little softer? Let them sit for 5 minutes at room temp. They’re great for:
- After-school snacks
- Post-workout treats
- Movie night goodies
- Dessert trays at parties
Pair it with a glass of almond milk or a warm cup of tea for extra cozy vibes!
Fun Fact
Did you know that traditional Snickers bars have over 20 ingredients many of which are hard to pronounce? This version only has real, simple ingredients you probably already have in your kitchen. And they taste just as yummy (maybe even better!).
Conclusion
These healthy no bake Snickers bars are proof that you don’t need refined sugar or an oven to enjoy a decadent dessert. With just a few wholesome ingredients, you can create a satisfying treat that’s perfect for any time of the day. Keep a batch in your fridge or freezer and enjoy whenever your sweet tooth hits. Once you try these healthy no bake Snickers bars, you’ll want to make them again and again—they’re that good and that easy.