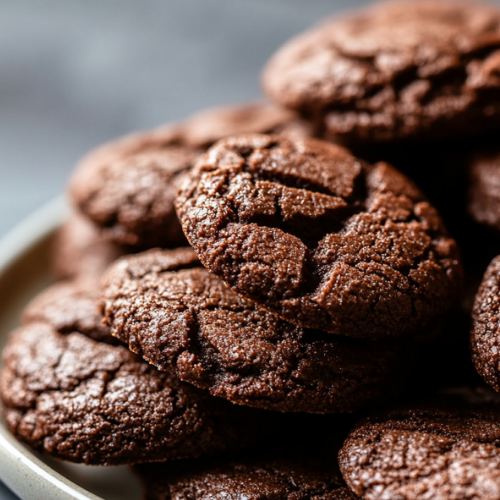
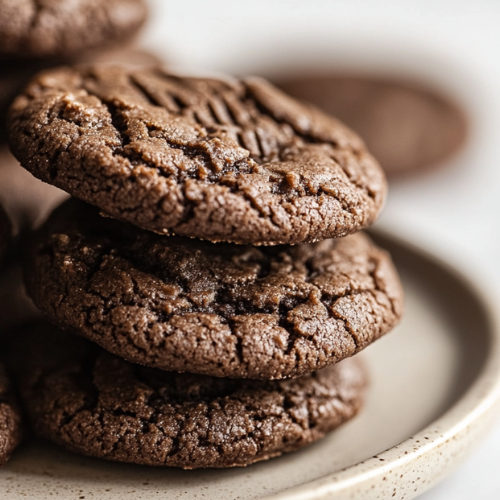
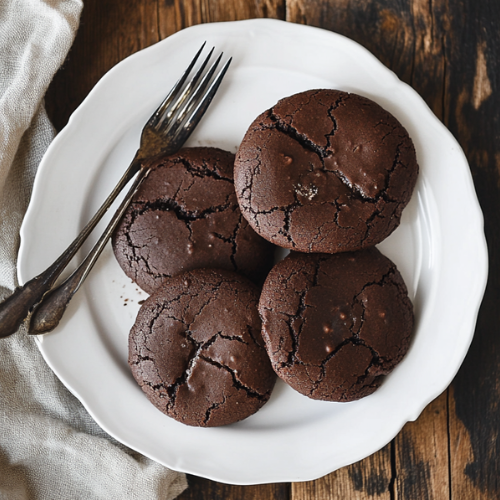
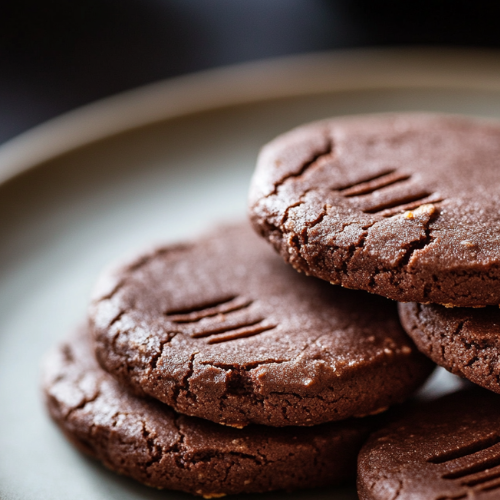
There’s something truly magical about the combination of chocolate and butter, especially when it’s in a warm, fresh-baked cookie. These Chocolate Butter Cookies have a rich, nutty flavor thanks to browned butter and are packed with delicious chunks of chocolate peanut butter goodness. Trust me, you’re going to love every bite!
Method
Brown the Butter
To begin, place 1/2 cup of butter in a non-stick pan over medium heat. Stir it continuously as it starts to melt, ensuring it heats evenly. The butter will first foam up as the water content evaporates, and then small golden-brown flecks will begin to form at the bottom of the pan. These flecks are the toasted milk solids that contribute to the butter’s rich, nutty flavor. Keep stirring to prevent burning, and after about 4-5 minutes, you should smell a deep, toasty aroma. At this stage, remove the pan from heat immediately and transfer the browned butter to a mixing bowl to cool slightly before use.
Mix the Wet Ingredients
Once the browned butter has cooled slightly, add the sugar to the bowl and whisk vigorously until well combined. The mixture will appear slightly grainy but should be fully incorporated. Next, crack in the egg and continue whisking until the batter turns smooth and glossy. This step is crucial as it helps to create a light and soft texture in the cookies. Finally, pour in the vanilla extract and stir well, ensuring the flavor is evenly distributed throughout the wet mixture.
Mix the Dry Ingredients
In a separate bowl, combine the flour, baking powder, salt, and cinnamon. Using a whisk or a spoon, mix these dry ingredients together to ensure they are evenly dispersed. This step prevents any clumps of baking powder or salt from being concentrated in one part of the dough. Gradually add the dry ingredients to the bowl with the wet mixture, stirring continuously to form a cohesive dough. Be careful not to overmix once all the dry ingredients are incorporated, stop stirring to maintain a soft, tender texture in the final cookies.
Add the Chocolate
Now, take half of the chopped chocolate and gently fold it into the dough using a spatula or wooden spoon. Ensure that the chocolate pieces are evenly distributed so that every bite of the cookie will have delicious pockets of melty chocolate. The dough at this stage will be slightly sticky but should hold together well.
Shape the Cookies
Using a cookie scoop or tablespoon, scoop out 2-tablespoon-sized portions of dough and roll them between your palms to form smooth balls. Arrange these dough balls on a lined baking sheet, spacing them about 2 inches apart to allow for spreading during baking. Once all the dough is portioned out, take the remaining chocolate cubes and gently press one piece onto the top of each cookie. Be sure to press just enough for the chocolate to stick but not too much that the dough flattens excessively.
Bake
Preheat your oven to 350°F (175°C) and place the baking sheet in the center rack. Bake the cookies for 10 minutes, or until the edges are set and lightly golden while the centers remain soft. Keep a close eye on them, as cookies can quickly overbake. Once done, remove the baking sheet from the oven and let the cookies cool completely on the pan before attempting to move them. This step is crucial because they continue to set as they cool, ensuring a perfect, chewy texture.
Necessary Tools
- Non-stick pan (for browning butter)
- Mixing bowls (one for wet ingredients, one for dry)
- Whisk or electric mixer
- Measuring cups & spoons
- Baking sheet
- Parchment paper
- Cookie scoop or tablespoon
Chocolate Butter Cookies – A Decadent Treat!
Cuisine: AmericanDifficulty: Easy12
servings10
minutes10
minutes20
minutesIngredients
1/2 cup butter, browned
3/4 cup white sugar
1 egg
1 cup flour
1 tsp baking powder
1 tsp salt
2 tsp cinnamon
1 tsp vanilla extract
3/4 of a Chocolate Peanut Butter Whittaker’s Bar
1/2 diced into the dough
1/4 to press on top in cubes
Directions
- Brown the Butter
Start by browning your butter. Melt 1/2 cup butter in a non-stick pan over medium heat. Stir constantly as it foams and bubbles. After about 4-5 minutes, you’ll see golden brown flecks at the bottom. This is when you remove it from heat. The nutty aroma is your cue that it’s ready! - Mix the Wet Ingredients
Pour the browned butter into a mixing bowl and let it cool slightly. Add sugar and whisk until combined. Crack in the egg and mix well. Stir in vanilla extract. - Mix the Dry Ingredients
In a separate bowl, combine flour, baking powder, salt, and cinnamon. Gradually add this dry mixture to the wet ingredients, stirring until fully combined. - Add the Chocolate
Fold in half of the chopped chocolate into the dough. - Shape the Cookies
Scoop 2-tablespoon-sized balls of dough and roll them in your hands. Place them on a lined baking sheet, spacing them out slightly. Gently press a small cube of chocolate on top of each ball. - Bake
Preheat your oven to 350°F (175°C) and bake for 10 minutes. The cookies should be slightly soft in the center. Let them cool completely before removing them from the pan this helps them set properly.
Notes
- Don’t burn the butter! Keep a close eye on it, stirring constantly to prevent it from turning too dark.
- Let the butter cool slightly before mixing with sugar this prevents the egg from cooking when added.
- Don’t overmix the dough after adding the flour this can make the cookies dense instead of soft.
- Let them cool before handling! These cookies are delicate right out of the oven but firm up beautifully once cooled.
Serving Suggestions
- Enjoy these cookies warm with a glass of milk for a classic treat!
- Crumble over vanilla ice cream for an indulgent dessert.
- Serve with coffee or hot chocolate for a cozy afternoon snack.
Fun Fact
Did you know that browning butter enhances its flavor by breaking down the milk solids? This process gives it a rich, nutty aroma, making your cookies taste even better!
Conclusion
These Chocolate Butter Cookies are simple to make yet packed with deep, buttery flavors and melty chocolate goodness. Whether you’re making them for a cozy night in or sharing them with friends, they’re guaranteed to impress. Give them a try, and let me know how they turn out!
Happy baking!