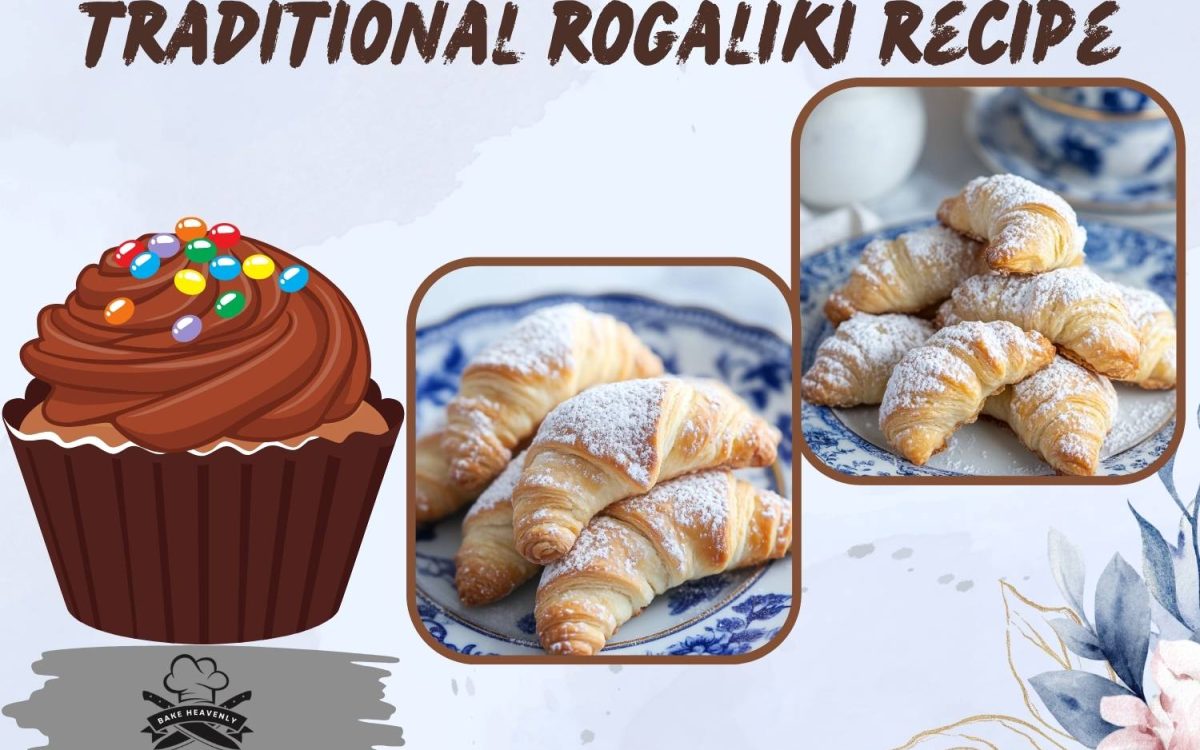
Every time I make these rogaliki, I feel like I’m baking a warm memory. This is a special recipe passed down from my grandma to my mom, and now to me and I’m so excited to share it with you! Rogaliki are little crescent-shaped pastries with a flaky, melt-in-your-mouth crust and a delicious jam and walnut filling. We always make them during the holidays, especially around Christmas and New Year’s.
Let’s get started!
Method:
Make the Dough
To start, grab a large mixing bowl and add in the flour. Then, using either your hands or a pastry cutter, work the lard (or unsalted butter) into the flour. You’ll know it’s ready when the mixture feels like coarse sand dry, crumbly, and well blended. This step is important because it gives the rogaliki their signature flaky texture. Next, add the sour cream to the bowl and gently mix it into the flour mixture until a soft dough forms. Be careful not to overwork it just mix and knead until everything is combined. The dough should feel slightly crumbly but not sticky. Once your dough is ready, roll it into a log and divide it into 8 equal pieces. Take each piece and shape it into a ball. Place all the dough balls on a plate, cover them (plastic wrap or a clean towel works), and refrigerate for at least 2 hours, or overnight if you’re planning ahead. This chilling time helps firm up the dough, making it easier to roll and shaping the pastry’s final texture.
Roll, Fill & Shape
Once the dough has chilled and you’re ready to bake, take out one dough ball at a time this helps keep the rest cold and easy to handle. Lightly flour your surface and roll the dough into a flat circle about 9 to 10 inches in diameter. Think of it like rolling out a pizza crust. Now, using a sharp knife or pizza cutter, slice the circle into 8 equal triangles, just like you’d cut a pizza. In a small bowl, mix together your thick jam (prune, apricot, or whatever you love most) with the crushed walnuts. This mixture will be your filling. Take about 1 teaspoon of filling and place it at the wide end of each triangle. Gently fold the edges of the triangle over the filling to keep it from leaking, press lightly to seal, and then roll each triangle toward the pointed end to form a crescent shape. It’s okay if they’re not perfect homemade always has its own charm! As you go, place each crescent seam-side down on a baking sheet lined with parchment paper. This keeps them from unrolling in the oven and helps them bake up nice and tidy.
Bake and Sugar-Coat
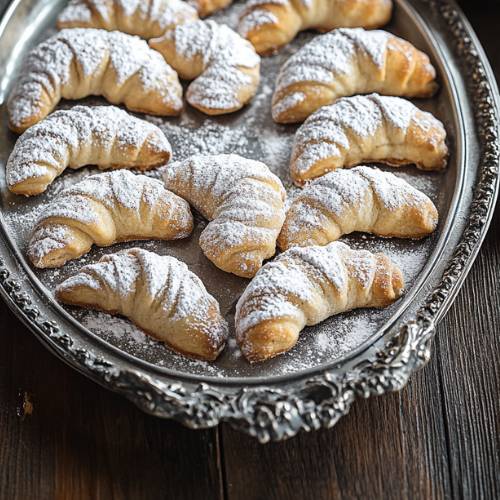
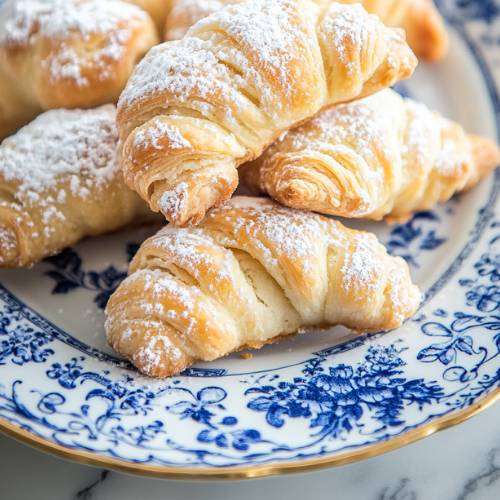
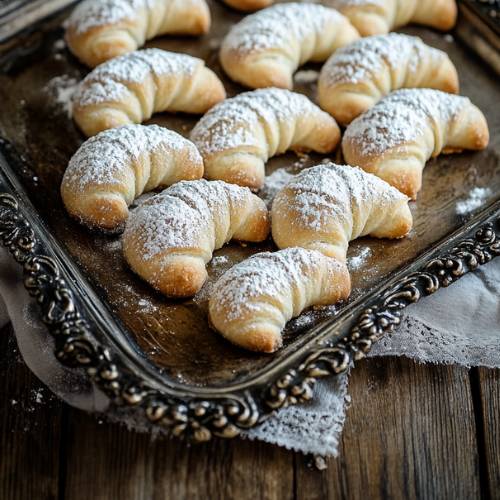
Preheat your oven to 350°F (175°C). Once all your rogaliki are shaped and placed on the baking sheet, pop them into the oven and bake for about 25 to 30 minutes, or until they’re golden brown and just slightly crisp at the edges. Keep an eye on them in the last few minutes they should look beautifully golden but not too dark. As soon as they come out of the oven and are still warm, gently roll each pastry in powdered sugar. You can use a shallow bowl or sprinkle the sugar over them with a sifter or fine sieve if you prefer. This step gives them that dreamy, snow-dusted holiday look. Let them cool completely on a wire rack before serving they’ll firm up as they cool and become perfectly crumbly and sweet.
Necessary Tools
- Large mixing bowl
- Pastry cutter or your hands
- Rolling pin
- Sharp knife or pizza cutter
- Measuring cups
- Baking sheets
- Parchment paper
- Small spoon
- Plate for chilling dough
- Sifter or fine sieve (for powdered sugar)
Traditional Rogaliki Recipe – A Sweet Family Tradition
Cuisine: JewishDifficulty: Easy64
servings2
hours30
minutes2
hours30
minutesIngredients
3 cups all-purpose flour
8 oz lard (or unsalted butter)
8 oz sour cream
1 cup thick jam (prune, apricot, or your favorite)
½ cup crushed walnuts
Powdered sugar (for dusting)
Directions
- Make the Dough
In a bowl, mix the flour and lard (or butter) using your hands or a pastry cutter until the texture looks like coarse sand.
Add the sour cream and mix until it becomes a soft dough. Don’t over-knead it should feel a little crumbly and not sticky.
Roll the dough into a log and cut it into 8 pieces. Shape each piece into a small ball.
Put the dough balls on a plate, cover them, and refrigerate for at least 2 hours or overnight. - Roll, Fill & Shape
Take out one dough ball at a time and roll it into a 9–10 inch circle.
Cut the circle into 8 triangles (like a pizza!).
Mix the jam and crushed walnuts together. Place about 1 teaspoon of filling on the wide end of each triangle.
Fold the edges over the filling, press gently to seal, then roll into a cute little crescent.
Place each one seam-side down on a parchment-lined baking sheet. This helps them stay rolled while baking! - Bake and Sugar-Coat
Bake at 350°F (175°C) for 25–30 minutes, or until golden brown.
While they’re still warm, roll them in powdered sugar. (This is the fun part!)
Let them cool completely before serving. (It’s hard to wait, I know!)
Notes
- Don’t skip chilling the dough! It helps keep the pastry flaky and easy to roll.
- If your jam is too runny, it may leak out use a thicker jam or fruit paste.
- Be gentle when rolling the crescents, so they don’t split or tear.
- Always bake seam-side down so they stay neat and don’t open in the oven!


Serving Suggestions
- Serve rogaliki with a cup of hot tea, cocoa, or coffee for a cozy treat.
- Arrange them on a holiday platter with fresh fruit or other cookies.
- Wrap them in cute boxes or tins as sweet homemade gifts!
Fun Fact
“Rogaliki” means “little horns” in Polish and other Slavic languages! That’s because of their crescent shape just like mini croissants, but crispier and filled with jammy goodness!
Conclusion
These traditional rogaliki are more than just cookies they’re a bite of family history. Whether you use lard like my grandma did for that classic crumbly texture or go with butter for a softer version, you’ll love how cozy and festive they taste. Make them with your kids, your friends, or just for yourself and enjoy a sweet little piece of tradition.